The box arrives on a Tuesday morning in early April. One hundred day-old chicks, each no bigger than a golf ball, cheeping in a cardboard container with air holes punched in the sides. You have the brooder lamp warming the corner of your garage, a bag of pine shavings waiting to be spread, and a waterer filled and ready. By Thursday three of them are dead. By Saturday you have lost seven more. By the following week you are reading brooder troubleshooting guides at midnight, wondering what you missed.
For more on this topic, see our guides on Brooder Setup, Chicken Management.
Starting a small farm flock begins in the brooder. That first four to six weeks determines whether your birds reach the pasture healthy and vigorous or arrive stunted and vulnerable to every disease that blows through the barn. The mistakes that kill chicks are almost always preventable. They are not exotic diseases or rare genetic defects. They are temperature errors, overcrowding, bad bedding choices, dirty water, and brooders placed in locations that should have been ruled out before the first chick arrived.
This article walks through the practical realities of chick brooder management for small farms. The information comes from experienced flock owners, extension guidance, and the hard lessons learned by farmers who have opened that Tuesday morning box and figured out what works the hard way.
Temperature Control: Watch the Chicks, Not Just the Thermometer
The standard guidance is straightforward. Week one: 95 degrees. Week two: 90 degrees. Drop by five degrees each week until the chicks are fully feathered and ready for ambient temperatures outside the brooder. That linear schedule is a useful starting point, but it is not the whole story.
Chick behavior is a more reliable indicator of brooder temperature than a thermometer. Chicks huddled in a tight pile directly under the heat lamp are cold. Chicks spread out to the edges of the brooder, wings extended, panting with their beaks open, are too hot. Chicks scattered evenly, some eating, some drinking, some sleeping in small loose groups, are at the right temperature. Learning to read that body language is the single most important brooder skill you can develop.
Overheating is cited as the most common cause of brooder mortality for novice flock owners, surpassing predation and disease in the first two weeks. A brooder that hits 100 degrees because the lamp is hung too low or the space is too well insulated will dehydrate chicks faster than cold will kill them. Chicks that die from heat look surprisingly normal. They simply stop moving, then stop breathing. There is no warning cheep, no obvious struggle.
The heat source matters. A standard 250-watt red brooder lamp is the default for most small farms, but it is a blunt instrument. It radiates heat in a cone that creates hot spots and cold spots across the brooder. A better setup uses multiple lower-wattage lamps or a radiant heat plate that chicks can move under and away from as needed. Radiant plates cost more upfront but reduce the risk of fire and give chicks the ability to self-regulate their temperature.
Placement of the heat source should create a gradient, not a uniform temperature. One side of the brooder under the lamp, the other side at ambient temperature. Chicks vote with their feet. If the whole brooder is 95 degrees, they have no escape when they get too warm. If one side is hot and the other is cooler, they find their own comfort zone.
Space and Overcrowding: Why the 2-3 Square Foot Rule Matters
A minimum of 2 to 3 square feet per chick in the brooder prevents overcrowding, which leads to stress, feather picking, and disease. That rule sounds generous until you watch one hundred chicks grow for three weeks. By day fifteen they are half again as large as they were on arrival, and the space that felt ample on day one now looks like a subway car at rush hour.
Overcrowding triggers a cascade of problems. Chicks cannot access feed and water stations without pushing past each other. Dominant birds establish pecking order control over the best spots. Smaller or slower chicks get pushed to the edges, where the temperature is colder and the feed is picked over. Stress from crowding suppresses immune function, making the whole flock more vulnerable to coccidiosis and respiratory infections.
The solution is either a larger brooder or an earlier move to the pasture coop. If your brooder is a wooden framed box in the barn, plan for expansion. A hinged sidewall that folds down to double the floor space on day ten costs nothing in materials and saves you from culling stressed birds later. If you are brooding in a stock tank or a converted shed, mark the floor into sections and estimate when you will need to split the flock into two groups.
Feeder and waterer access is part of the space calculation. Industry guidelines suggest one inch of feeder space per chick and one nipple waterer per ten birds. For small farms using hanging feeders and bell waterers, the practical rule is to watch the chicks at feeding time. If there is a crowd at the feeder and birds standing on the rim jostling for position, you need another feeder. If chicks are waiting in line for water, add another waterer. Simple observation prevents problems before they start.
Bedding, Water, and Feed: Daily Non-Negotiables
The materials inside your brooder are as important as the structure around it. Chicks spend their first weeks in constant contact with bedding. They eat from it, scratch in it, and breathe the dust it creates. The wrong bedding choice can cause respiratory failure before you realize anything is wrong.
- Pine shavings — Safe, absorbent, widely available, and affordable. The standard choice for first-time flock owners. Use shavings from a known source to avoid contaminants like mold or treated wood fines
- Aspen shavings — Slightly more expensive than pine but lower in aromatic oils. Good for farmers with existing allergies to pine dust or for brooders in enclosed spaces where ventilation is limited
- Straw — Acceptable if it is clean, dry, and chopped fine. Whole straw stalks can trap chicks and create wet pockets where bacteria grow. Replace straw bedding more frequently than shavings because it is less absorbent
- Sand — Controversial but used successfully by some experienced brooder managers. Harder to clean thoroughly and can cause impacted crop if chicks mistake it for grit at too young an age. Not recommended for beginners
- Cedar shavings — Unsafe and should never be used in a brooder. Cedar oils cause respiratory irritation that can lead to chronic lung damage and death in chicks. No matter how cheap or available, cedar is not worth the risk
- Newspaper or cardboard alone — Too slippery for proper leg development. Chicks on a slick surface develop splayed legs that cripple them permanently. If you use cardboard under bedding, cover it completely with a thick layer of shavings
- Paper towels — Useful for the first 24 to 48 hours when you want chicks to learn where feed is. After that, switch to proper bedding. Paper towels wet through quickly and do not control odor
Water must be clean and available at all times. Chicks dehydrate faster than adult birds because they are growing rapidly and their body water percentage is higher. Waterers should be shallow to prevent drowning. A standard quart jar waterer with a narrow lip is safe for the first week. By week two, switch to a larger gallon-size waterer or a nipple system if you are set up for it.
Daily cleaning of feeders and waterers is non-negotiable. Even small amounts of contamination can spread illness rapidly in a brooder environment. Scrape feeders every morning. Dump and rinse waterers if you see any debris, algae, or bedding material in the reservoir. A five-minute cleaning routine prevents a week-long outbreak of illness that takes out half your flock.
Starter feed should be unmedicated chick starter with 18 to 20 percent protein for the first eight weeks. Medicated feed containing amprolium helps prevent coccidiosis but is unnecessary if you maintain clean bedding and good ventilation. Some farms prefer non-GMO or organic starter; the nutritional specs matter more than the label. What counts is the protein level and the freshness. Stale feed loses nutrients and can harbor mold that chicks will not refuse to eat until it makes them sick.
Brooder Placement: Drafts, Predators, and Ventilation
Where you put the brooder is as important as how you build it. A drafty corner of the barn will chill chicks even with a heat lamp running. A brooder in an outbuilding with a broken door latch invites raccoons, rats, and snakes to treat your investment like a buffet.
Drafts are the hidden killer. Chicks need fresh air, but they cannot handle direct wind. A brooder placed under a window that leaks, near a door that opens frequently, or against a wall with gaps in the siding will create patches of cold air that pull heat away from the birds. The heat lamp compensates in the immediate zone, but chicks wandering to the edges get hit with a temperature drop that weakens them over hours.
Predator access is another placement failure. The brooder itself should be enclosed with half-inch hardware cloth, not chicken wire. Chicken wire keeps chickens in; it does not keep predators out. A rat can squeeze through a one-inch gap. A weasel can fit through a half-inch gap. If your brooder is in a shared space like a garage or workshop, check it every evening before dark and verify that all seams, lids, and access points are secure.
Ventilation without draft is the balance you want. Air should move through the brooder space to carry away ammonia and moisture, but it should not blow directly on the chicks. If you are brooding in a closed room or shed, a small passive vent near the ceiling allows warm, moist air to escape without creating a breeze at floor level. If you smell ammonia when you open the door, the ventilation is inadequate and you need to increase airflow or change the bedding more often.
Electrical safety is easy to overlook. Heat lamps in barns and garages cause fires every spring. Use porcelain sockets rated for the wattage. Secure the lamp with a secondary chain or wire so it cannot fall into the bedding if the clamp slips. Keep the lamp at least 18 inches above the bedding surface. Check it every time you enter the brooder space. A five-second glance at the cord and the clamp is cheap insurance against burning down your barn with a hundred chicks inside.
Disease Signs and When to Act
Sick chicks rarely announce themselves dramatically. The first signs are subtle: a chick standing apart from the group, head tucked, eyes half closed, or not running to the feeder when the rest of the flock charges. By the time a chick is visibly lethargic, the process has usually been underway for 24 to 48 hours.
Common brooder diseases fall into two categories: environmental and infectious. Environmental problems include pasting up, where droppings stick to the vent and block elimination. It is caused by temperature stress, dehydration, or feed changes. Check vents daily for the first week. A warm, damp cloth gently removes buildup and prevents the blockage that kills within days.
Infectious diseases include coccidiosis, which causes bloody diarrhea and lethargy, and respiratory infections marked by sneezing, nasal discharge, and gaping beaks. Both spread fast in crowded, damp, or poorly ventilated brooders. The best prevention is the environment: dry bedding, clean water, adequate space, and gentle temperature management. Once an infectious outbreak starts in a brooder, treatment is difficult and often ineffective in chicks under two weeks old.
Quarantine is not practical for a single brooder, but separation is. If you notice one or two chicks showing early signs, move them to a small isolation box with its own heat source, water, and feed. Watch them closely. If they recover, return them to the flock when they are active and eating normally. If they decline, cull them humanely. Do not leave a visibly sick chick in the brooder to infect the rest.
The Bottom Line on Small Farm Poultry Keeping
The key takeaway is this: chick brooder management is not complicated, but it is unforgiving. Temperature, space, bedding, water, feed, and placement are the six variables that determine whether your chicks thrive or die. Watch the chicks instead of obsessing over the thermometer. Give them room to move. Use safe bedding, keep water and feed clean, and place the brooder where drafts, predators, and electrical hazards cannot reach them.
Most brooder failures are not caused by bad luck. They are caused by shortcuts. A heat lamp hung a few inches too low. Cedar shavings used because they were on sale. A waterer that went two days without cleaning because you were busy. Small oversights in the brooder have large consequences for the flock that follows.
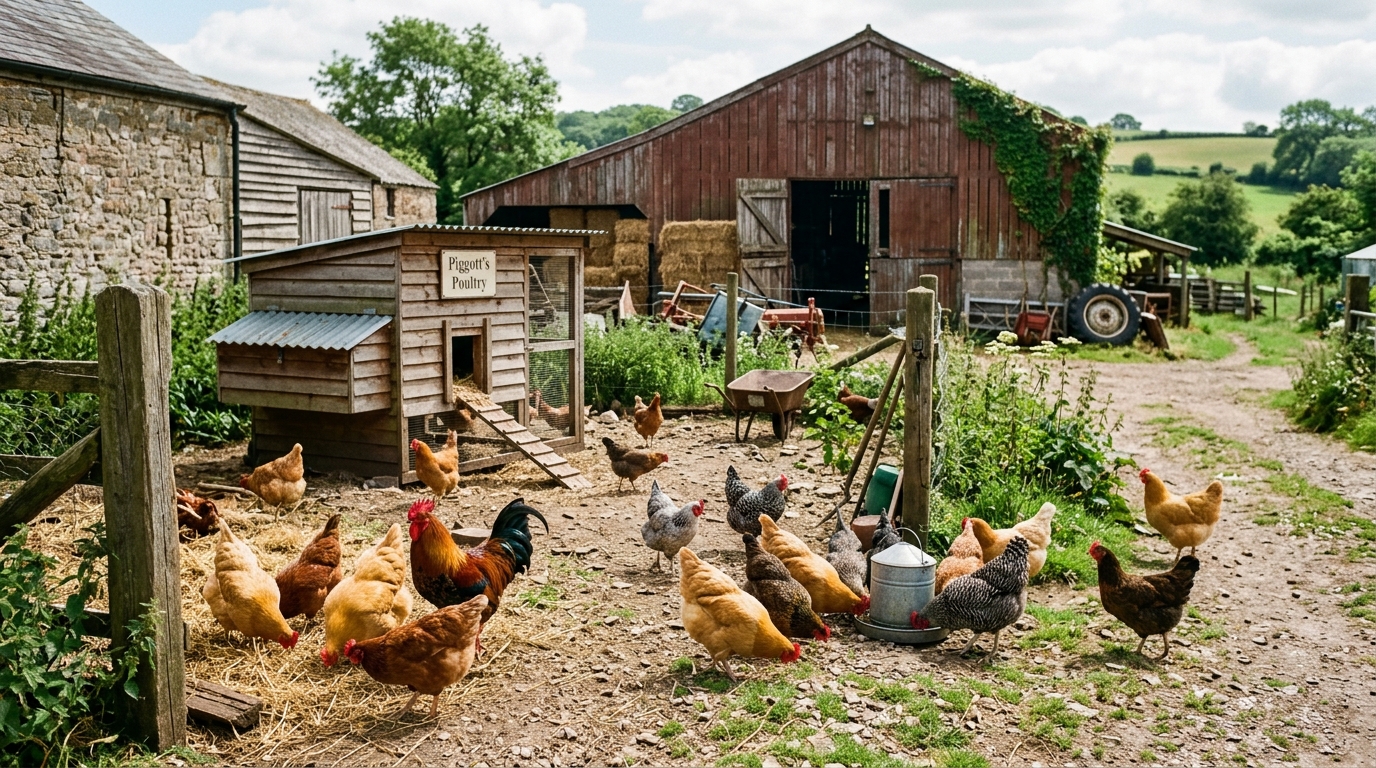
If you are starting your first small farm flock this season, get the brooder right before the chicks arrive. The work you do in those first four weeks determines the health, productivity, and longevity of the birds that will be laying eggs or scratching pasture for the next several years.
Ready to build a brooder setup that keeps your chicks alive and healthy? Visit bieldfarm.com for brooder plans, checklists, and the tools you need to track flock health from day one through the first season on pasture.